 |

|
 |


Begin OCR Text:
A
LD
3O
D+ 2O
1O
O D 1OOD 2OOO 3OOO LOOO fDDD 6OOO vRo/_uMu
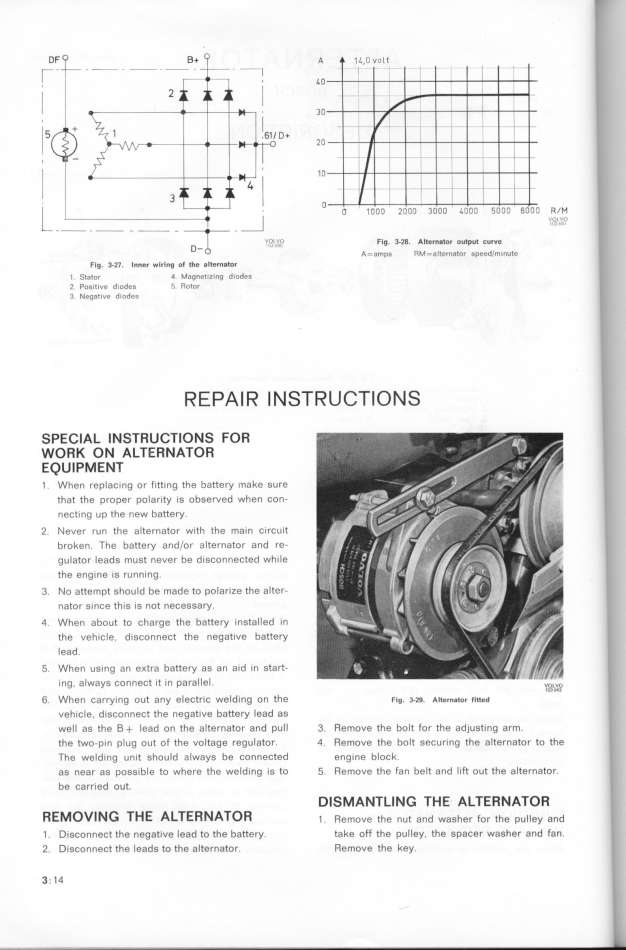
?_O, Flg. 3-28. Alternator output _urve
A=amps RM=alternator speedfminute
Fig. 3-27. lnner w_iring o_ the alternator
_ _tator 4 Magneti_ing d_i DdeS
2 Pogitive diodes 5. RDtor
3 Neg8tive diodes _ E_Al _ l N ST_ U_Tl O NS
__o
ER
_K
iAo
i N
iNA
_Tii
RE
UR
_N
TA
lOio
N_R
FOR
Weijuip_ENi
1 . When rep_ac_ng or f_tt_ng the battery mahe gUre
that the proper polarity is observed when con-
nect_ng up the new batfery
2 _ever run the alternator w_th the main circuit
broken. The battery and(or alternator and re-
gu_ator leadg must never be d1SçonneCted while
the engine iS runn_ng.
3. _o attempt ghould be made to polarize the alter-
nator ginçe th_s iS not neCeSSary.
4. When about to charge the battery instaIIed in
the vehiçle, diSConneCt the negat_ve battery
_ead.
5. When us1ng an e_tra battery as an a_d in start-
_ng, alwayS ConneCt it In parallel. v_oo___v_
6. When Carry_ng oUt any eleCtrIC Welding on the Fig. 3_29. Alternator fl_ed
vehiçle, disConneCt the negative battery lead as
well as the B+ lead on the alternator and pull 3. Remove the bolt for the ad)usting arm.
fhe two-pin plug out of the voltage reguIator. 4. Remove the bolt gecur_ng the alternator to the
The welding un_t should always be connected eng_ne block.
aS near ag poss_ble to where the welding is to 5. Remove the fan belt and lift out the alternator.
be carried out.
o _ iHE AiiERN io
Di_MANTiIN_ iHE AiiERNATOR
REM VIN A R _ . Remove the nut and wagher for the pu__ey and
1. Disconnect the negative lead to the battery. take off the pulley. the spacer washer and fan.
2. Digconnect the leads to the alternator. Remove the key.
3_ 14
|

