 |

|
 |


Begin OCR Text:
w_v__
o___
_)___
____
,__
__
P 12O, P 18OO
Check the cylinders of the control pistons for
scor_ing and wear.
Make sure that the oil passages are clean.
ASSEMBLING THE OVERDRIVE
1. Place the front circlip for the bearing (28) in
the rear housing half. Press in the bearing with
drift SVO 2413.
2. Press the pilot bearing (31) for the gearboK
, V,O,C,_,,O mainshaft into the output shaft (25) with drift
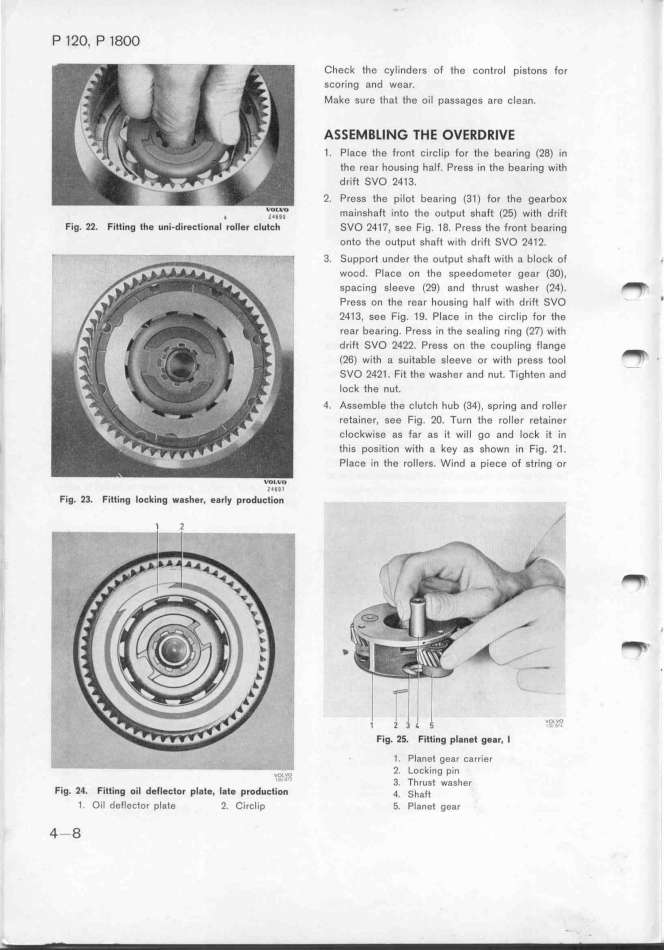
Fig. 22. Fitting the uni-directional roller clutch SVO 2417, see Fig. 18. Press the front bearing
onto the output shaft with drift SVO 2412.
3. Support under the output shaft with a block of _
wood. Place on the speedometer gear (3O),
spacing sleeve (29) and thrust washer (24). _
Press on the rear fousing half with drift SVO '
j
' 2413, see Fig. 19. Place in the circlip for the
rear bearing. Press in the sealing ring (27) with
drift SVO 2422. Press on the coupling flange _
i (26) w_i_h a su_j_ab_e s_eeve or w_i_h press _ooi _
l SVO 2O21. Fit the washer and nut. Tighten and
lock the nut.
4. Assemble the clutch hub (34), spring and roller
retainer, see Fig. 2O. Turn the roller retainer
clockwise as far as it will go and lock it in
_ this position with a key as shown in Fig. 21.
Place in the rollers. Wind a piece of string or
Fig. 23. Fitting locking _asher, earl_ produc'ti'o'n'
,
t 2 .._g3
/
i.___
.-!..._.,_ _
___ _,
_,, _ __
'
_ _I___ _
Fig. 2f. Fitting planet gear, l
1. Planet gear carrier
vu_,,o' 2. Locking pin
'' ' 3. Thrust washer
Fig. 24. Fitting oil de_l$ctor plate, late production q. __a__
t. Oil deflector plate 2 Circlip 5. Ptanet gear
4-8
|

