 |

|
 |


Begin OCR Text:
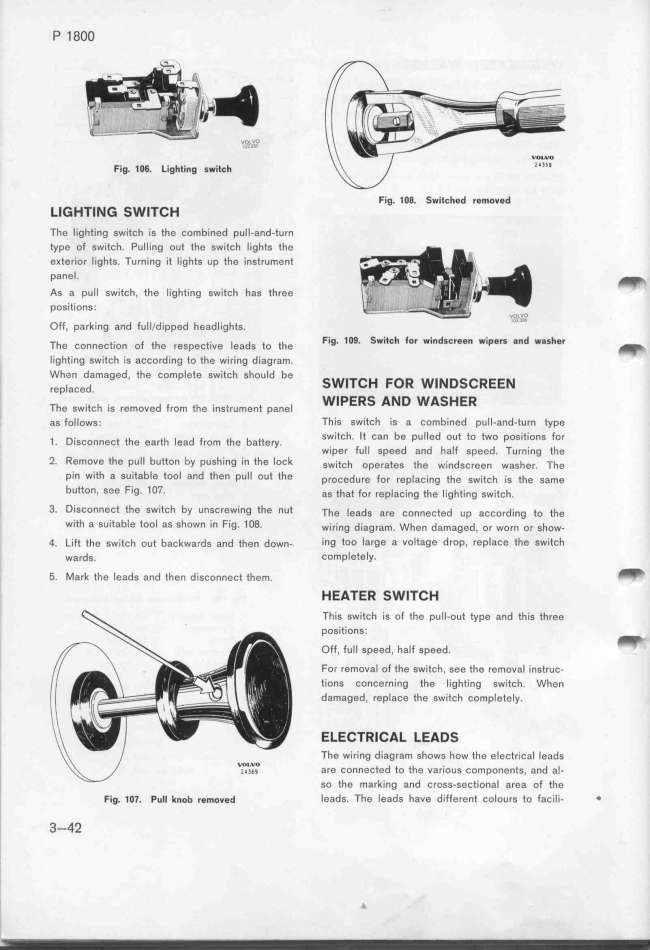
P 1 8OO Fig. 1O6. Lighti_g switch Fig. 1O$. Switched remov$d
LIGHTING SWITCH
The lighting switch is the combined pull-and-turn
type of switch. Pulling out the switch lights the
eKterior lights. Turning it lights up the instrument
panel. _
As a pull switch, the lighting switch has three
positions.
Off, parking and full/dipped headlights.
The ço,,eçt_o, oF the ,e,peçt__ve _ead, to the Fig_ tOa_ Switch for wi_dscree_ wip$rs a_d w8sher _
lighting switch is according to the wiring diagr,m.
When damaged, the complete switch should be Sw_TCH Foff w_wDSCffEew
replaced.
Th, ,w,.t,h .,, ,,mo,,d F,om th, .,,,t,,m,,t pa,,_ WIPERS AN D WASH ER
as follows. This switCh is a combined pull-and-turn type
_ D_,,ço,,eçt the ea,th _,,d F,om the ba_ey switch. It can be pulted out to two positions for
' ' wiper fuII speed and half specd. Turning the
2_ Remove the pull button by pushing in the lock ,w_,tçh ope,ate, the w.,,d,,,ee, wa,he,. The
pin with a suitable tool and then pull out the p,oçedu,e _o, ,ep_aç_,,g the ,w__tçh _, the ,ame
bUtton, See Fig. 1 O7. a, that Fo, ,ep_aç_,,g the ___ght__,g ,w__tçh.
3_ DiSConneCt the switch by unscrewing the nut The _ead, a,e ço,,e,ted ,p a,,o,d_,,g to the
with a suitable tool as shown in Fig. 1 O8. w__,_,,g d__ag,am. whe, damaged, o, wo,, o, ,how-
4. Lift the switch out backwards and then down- ing too Iarge a voltage drop, replnce the switch
wards. completely.
5. Mark the leads and then d_sconnect them. _
HEATER SWITCH
This switch is of the puIl-out type and this three
positions.
oF_, F,__ ,p,,d, h,_F ,pe,d. _
For removal of the switch, see the removal i,,t,uç-
tions concerning the lighting switch. When
damaged, replace the switch completely.
ELECTRICAL LEADS
The wiring diagram show__ how the electrical leads
are connected to the various components, and al-
so the marking and cross-secfional area of the
Fig. 1O7. PuII knob removed leads. The leads have different colours to facili- _
3-42
|

