 |

|
 |


Begin OCR Text:
_
_
_
P
ff E PA l ff l N _ T ff U _ T l O N _
The repair instructions below only concern the oil tions, please refer to the Service Manual for the
cooIer and carburettors. For other repair instruc- B 18 A engine.
_EPLAC_N_ THE OlL COOLER (_ _8 _) 7. Start the engine and check for leakage.
1_ Drain off the engine coolant_ g. _i _he nipp_e (3) has been repiaçed, _he new
2. Disçonneçt the çooiant çonneçtions on the oi_ one should be tightened to a torque of 45-5_5
cooIer. Remove the oil fìlter. kgm (33-4O Ib.ft.).
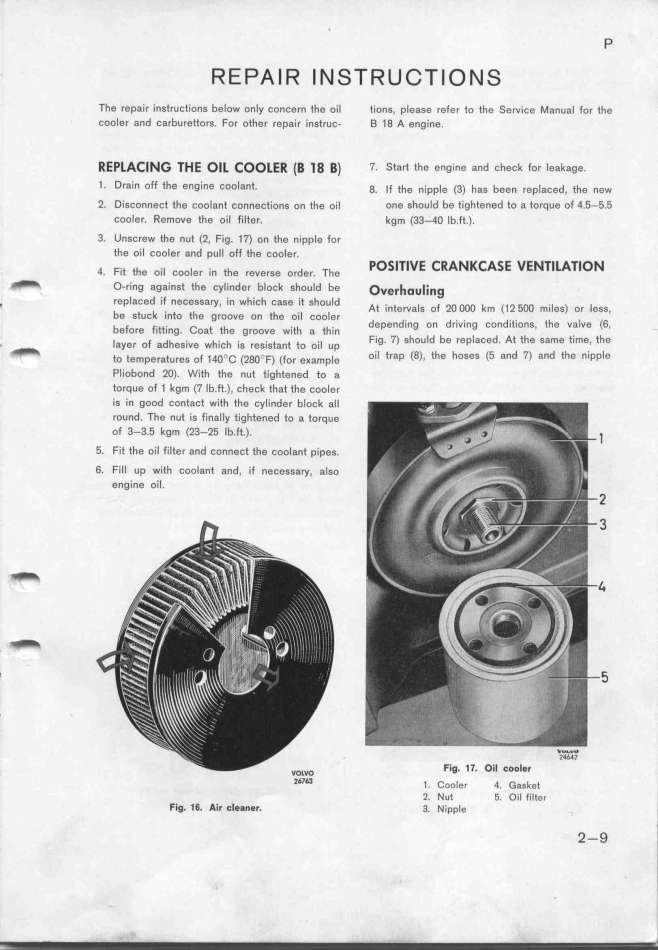
3. Unscrew the nut (2, Fig. 17) on the nipple for
the oil cooler and pull off the cooler. PO_lTIVE CRANKCASE VENTILATlON
4. Flt the OIl COO_er In the feVerSe Order. __he
_ O-ring against the cylinder block should be ove__o__i_g
repIaced if necessary, in which case _it should At . t i i 2oooD k (_2 5oo _i ) _
l in erva g o m ml eS Or eSS_
be stuck into the groove on the oil cooler d. . h i (6
b depending on driving con itions, t e vave ,
efore fitting. Coat the groove with a thin h
i dh h Fig 7) should be replaced. At the same time, t e
_ ayer of a esive w ich is resistant to oil up '
_ t t t i _4o__ (2go F) (i i oil trap (8) the hoses (5 and 7) and the nipple
O empera ureS O _ Of eKamp e '
PliDbond 2O). With the nut tightened to a
torque of 1 kgm (7 Ib.ft.), check that the cooler
is in good contact with the cylinder block all
round. The nut is finally tightened to a torQue
of 3-3.5 kgm (23-25 Ib.ft.).
5. Fìt the oiI filter and connect the coolant pipes.
6. Fill up with coolant and, if necessary, also
engine oiI. __U____p
Fig. 17. Oil _ool_r
267_ _ _ _ q _ k _
. oO er . aS e
2. Nut 5. Oil filter
Fig. 16. Air _l_an_r. 3. Nipple 2-9
|

