 |

|
 |


Begin OCR Text:
. P 18OO
out the filter Bnd collect up the oil oil running
out.
3. Coat the rubber gasket of th$ new filter with
oil 8nd make sure tfat the contact surface
for the oil filter is free from d'irt. By coating
the gasket with oil it will slide more easily up
against the sealing surface. Screw on the filter
by hand until it just touches the block.
4. Then tighten the oil filter a further falf turn
by hand. Chain tongs should not be used when ,
fitting. __t__'
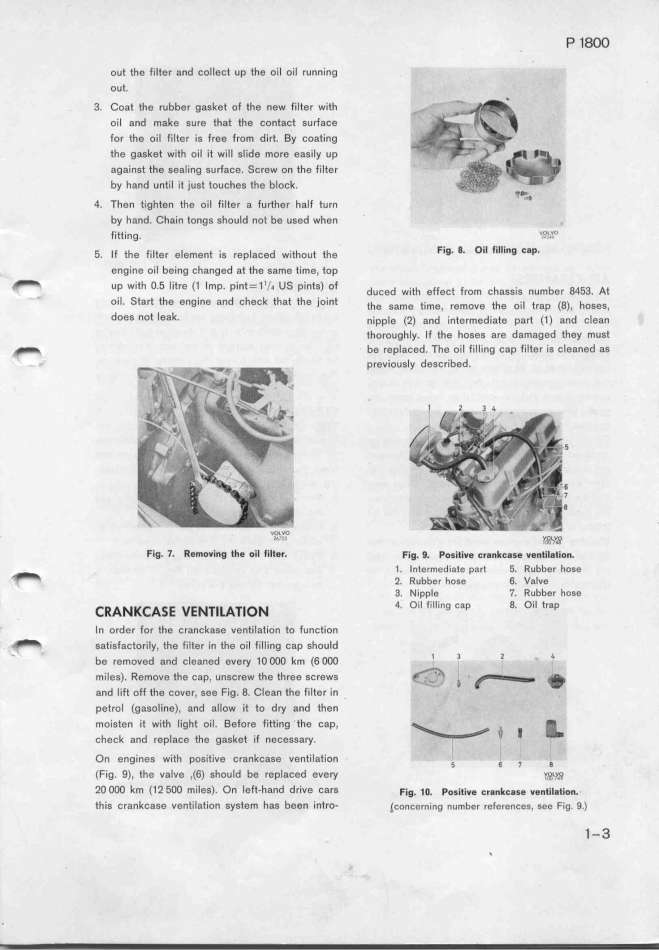
6. _f _he f___ter e_ement __g rep_aced w__thout the Fig_ 8_ Oil fìllîng _a__
engine oil being changed at the s8me time, top
_ up with o s _itre (1 lmp pint- 1_/_ US pints) of b
_ ' ' - dUCed Wlth effeCt frOm ChaSSIS nUm er 845a_ At
oi _ Start fhe engine and check that the joint the gamg t__mg, ,gmovg the o___ trgp (g), hoeeg,
does not leak_ nipp_e (2) and intermediate pa_ (1) and c_ean
thoroughly. If the hoses are damag8d they must
_ be replaced. The oil filling cap filter is cle8ned as
previously described.
'
I 1 3 _ 5
6
7
8
'_'!'' fR__
Fig_ 7_ R$moving th$ oil fìlt$r_ Fìg. 9. Positiv$ orankoase ventiIation.
_ 1. Intermedi8te part 5. Rubber hose
2. Rubber hose 6. Valve
3. Nipple 7. Rubber hose
__A_K_A_E vE______o_ 4. Oil filling cap 8. Oil tr8p
In order for thB cranckase vent'il8tion to function
_ satisfactorily. the filter in the oil filling cap should
_ b d d _ d 1o ooo k (6 ooo 3 2 . _
e remOVe &n C eane eVey m _ _
miles). Remove the cap, unscrew the three screws _ _ _
and lift off th$ cover, 8ee Fig. 8. Clean the filter in
petrol (gasoline). and aIlow it to dy and then
moisten it with líght oil. Before fitting the cap, _ g
_
check and replace the gasket if necessary. _
On engines with positive crankcase ventilation _ 6 p g.
(Fig. 9), the valve ,(6) should be repl8ced evey _g_,g
2O OOO km (12 5OO mileS)_ On left-hand drive CafS Fig. _o. pogi_ive orgnkoage ventiIgtjon.
this crankcase ventilafion system has been intro- _concerning number references, see Fig. 9.>
1 -3
|

